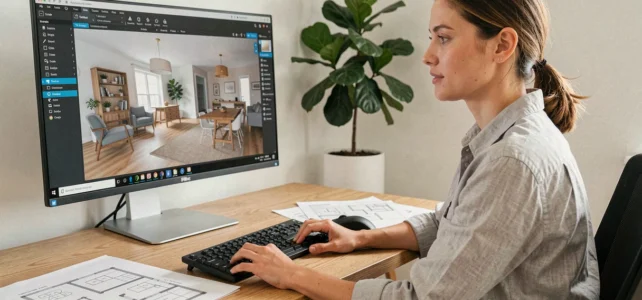
HomeByMe accepts the import of 3D files from various external sources, but the quality of the result depends almost entirely on the chosen format and the preparation of the model beforehand. Importing custom furniture into HomeByMe is not just a drag-and-drop: the mesh, textures, and scale determine the final rendering in the 3D planner.
3D formats compatible with HomeByMe: prioritize glTF and GLB
The platform officially recommends the formats .glb and .gltf for importing furniture. These two formats, derived from the glTF standard maintained by the Khronos Group, encapsulate geometry, PBR materials, and textures in a single file (GLB) or in a structured set (glTF with .bin files and separate images).
The .obj and .dae formats remain technically accepted, but we observe recurring losses: unrecognized textures, inverted normals, shifted scale. For custom furniture whose rendering relies on (fabric, veined wood, brushed metal), these artifacts make the realistic image unusable.
To find more tips on Faire Construire, particularly on material settings before export, the workflow is detailed step by step there.
- glTF/GLB: native support for PBR materials (metallic-roughness), possible Draco compression, reliable preservation of UV maps
- .obj: no native support for PBR materials, requires a separate .mtl file often misinterpreted upon import
- .dae (Collada): aging format, instability of orientation axes depending on the export software (Blender, SketchUp, 3ds Max)
We recommend systematically converting any .obj or .dae file to .glb before import. Tools like Blender’s native glTF export or Sketchfab’s online converter perform this operation without notable loss.
Preparing a 3D model for import into HomeByMe
A custom piece of furniture modeled in Blender, SketchUp, or Fusion 360 cannot be imported as is. The mesh must remain under a reasonable polygon threshold for the planner to remain fluid, especially in a project with multiple furnished rooms.
HomeByMe does not publish a strict limit on the number of faces, but beyond a few tens of thousands of triangles per object, loading times increase and rendering in navigation mode slows down. An optimized living room piece (sofa, bookshelf) generally hovers around a few thousand triangles without noticeable visual loss in HD rendering.
Checklist before export
- Apply all transformations (position, rotation, scale) in the source software to avoid axis shifts upon import
- Check the orientation: HomeByMe uses the Y axis upwards, while Blender exports by default in Z-up. Check the “+Y Up” option in Blender’s glTF exporter
- Embed textures in the GLB file (the “pack resources” option) rather than referencing local paths that will be broken after transfer
- Remove invisible internal faces and merge duplicate vertices to lighten the mesh
A clean model integrates in a few minutes. A poorly prepared model generates frustrating back-and-forth between the modeling software and HomeByMe.
Access to import based on HomeByMe offers
Most existing tutorials explain the technical gesture without specifying which subscription actually unlocks the import function. In 2026, the functionality for importing custom 3D models is accessible from the Essentials offer, which opens the door for individuals and independent decorators without heavy investment.
The Unlimited+ offer adds an additional advantage: private mode. Each imported model remains invisible to other users of the platform. For an interior designer modeling custom furniture for their clients, this exclusivity protects the design work.
Private catalog or public library
Without an Unlimited+ subscription, imported furniture may be indexed in HomeByMe’s public libraries. If the model represents a unique piece designed for a specific project, check the visibility setting before confirming the import.
Public libraries like CGTrader or Sketchfab provide a supplementary source of ready-to-use models. On Sketchfab, filtering by Creative Commons license and glTF format allows you to retrieve directly compatible furniture without conversion.
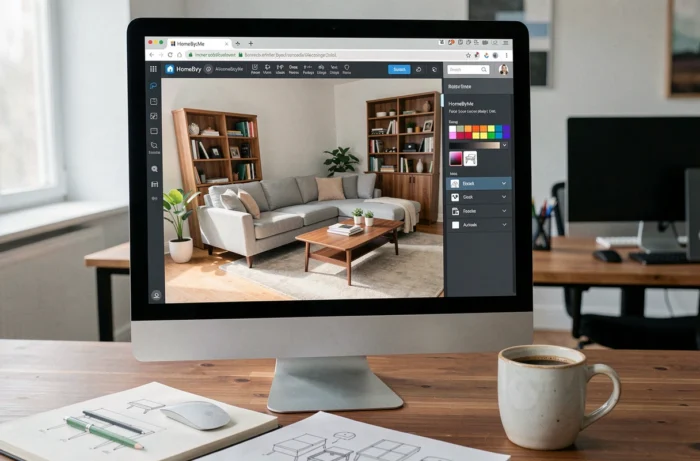
Realistic rendering after import: leveraging HD and 4K images
Importing a custom piece of furniture only makes sense if the final rendering is convincing. HomeByMe offers the generation of realistic images in high definition and 4K, but the quality of the textures embedded in the 3D file determines the result.
A complete PBR material (base color, metallic, roughness, normal map) fully exploits the rendering engine. A simple color flat without a roughness map produces a piece of furniture that stands out against the objects in the native catalog, where materials are calibrated for the internal engine.
For wood or fabric textures, we recommend resolutions of around 2048 x 2048 pixels per map. Below that, the grain becomes blurry in 4K rendering. Above that, the visual gain is marginal, and the GLB file becomes unnecessarily heavy.
The last step often overlooked concerns lighting. An imported piece of furniture positioned in a room with poorly distributed light sources will appear dull regardless of the care taken with the textures. Adjusting exposure and window placement in the HomeByMe project before launching the rendering avoids having to redo the image generation, which can take several minutes in 4K.